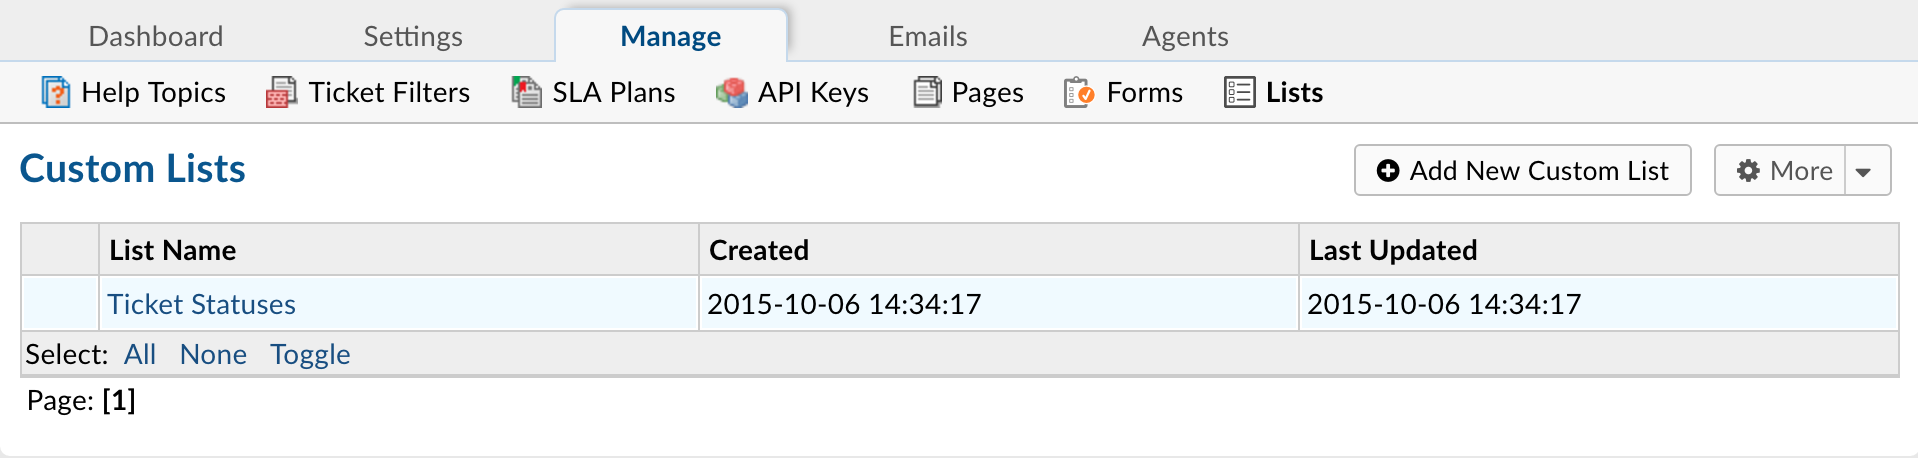
Lists
Admin Panel > Manage > Lists
Create New Custom List
Custom Lists permit the creation of dropdown boxes with predefined options from which an End-User can select on a form. Create a Custom List by going to Admin Panel > Manage > Lists> Add New Custom List. The list will show up as a Field Type when creating a field on either a Built-In or Custom Form. Abbreviations are encouraged where applicable as these will be used in association with a list configured as a Type Ahead instead of Drop Down. This Type of List is recommended when you have more than 3 choices.
Additional information can be associated with each List item which will be available for Agents to view.
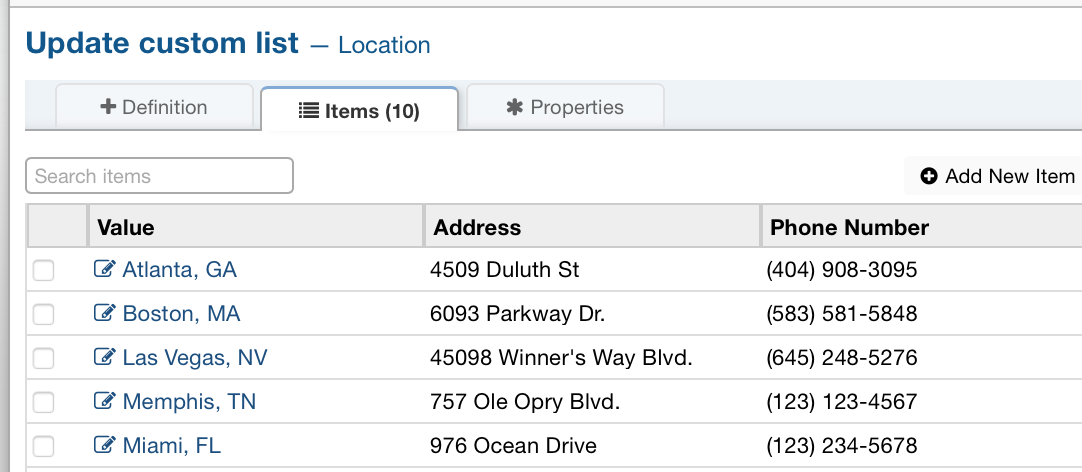
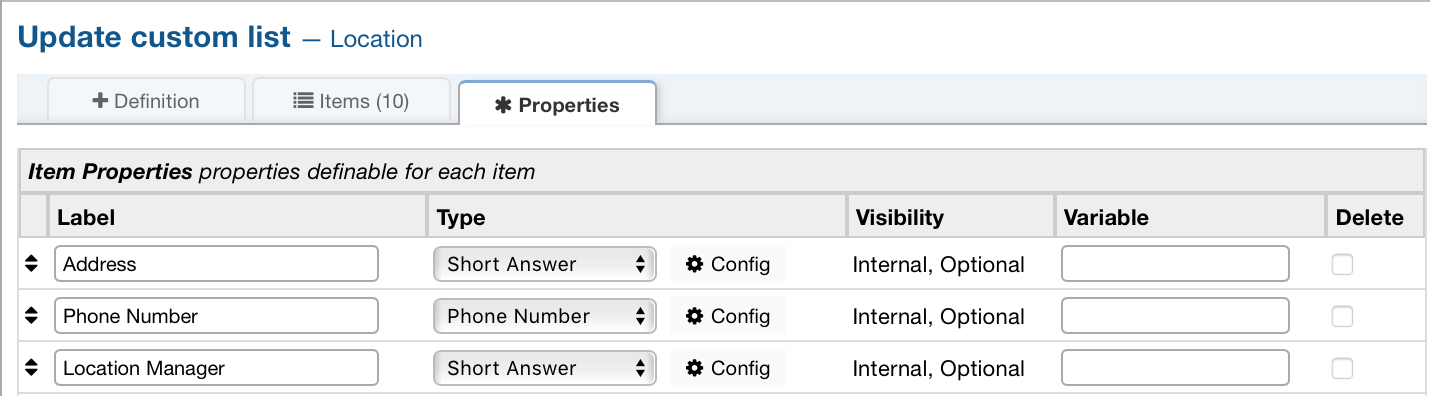
Item Properties help define additional information for which is unique for each List item. The properties will need to be determined when creating the List and then defined per List item.
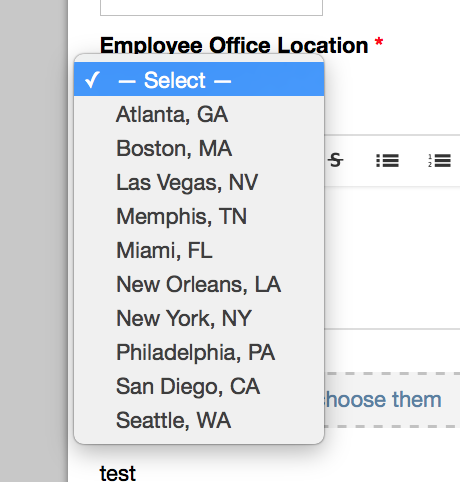
Custom Lists can then be added to a Custom Form which will allow the specific information to be captured from the End-Users and Agents when creating tickets.

Once an End-User selects a Help Topic that has a Custom Form with the List you’ve created they will be able to see the List and select a value.
Definition
Name: Name of the custom list. (required)
Plural Name: Plural version of the custom list Name. (not required)
Sort Order: Order you would like the list to be sorted.
Internal Notes: Section for any notes you would like to add.
Properties
Label: Name of the list item.
Type: The type you would like the list item to be.
Visibility: Whether or not you want the item to be seen.
Variable: Variable name for the list item.
Delete: Whether or not you want to delete the list item.
Creating Custom Ticket Statuses
Agents can change the status of a ticket as it progresses through the workflow. Ticket statuses can be automatically configured for the system default, by Help Topic or Ticket Filter upon ticket creation. After creation, status changes must be done manually by agents from within each individual ticket or can be mass changed from the ticket queues of the help desk.
Ticket statuses are set to either an “Open” or “Closed” state but can be titled anything within the help desk. Statuses can also be marked as not reopenable by and end user which, when a ticket is set to such a status, a response from an end user (ticket owner or collaborator) will create a new ticket and not thread into the original; the new ticket will reference the old ticket number in the subject.
To add a custom status, go to the Admin Panel > Manage > Lists > Ticket Statuses. This is a built-in list which can be expanded to include an unlimited number of Custom Ticket Statuses. Click on the Add New Item to label the Status name in the “Value” box; configure the state (Open or Closed) of the new Ticket Status in the Properties tab of the pop-up box. If selecting a Closed state with the ticket status, additional boxes will populate in the tab to determine if the ticket can be reopened by the end user’s response as well as what Open state status it is to be set to upon reopen.
Only agents with the ability to close tickets will have access to ticket statuses which are set to a closed state; otherwise, agents will only see ticket statuses set to an Open state. Tickets created via email will be set to the Default ticket status set in the Admin Panel > Settings > Tickets unless overridden by a Ticket Filter. Web tickets will be set to the status associated with the Help Topic selected unless criteria of a Ticket Filter match and override.